Yin Yoga: Long Holds and Connective Tissue
Retiru Team
The Retiru content team — yoga, meditation and ayurveda.
Introduction
Yin yoga often looks simple from the outside: get into a pose, stay still and breathe. Yet behind that quiet appearance there is a very specific method. Yin yoga uses long, mostly passive holds to create a gentle and sustained stimulus in the deeper tissues of the body, especially fascia, ligaments, tendons and joint capsules.
Most yin postures are held for several minutes. Beginners may start with 1 to 3 minutes, while a regular practice often uses 3 to 5 minutes per pose. More experienced practitioners sometimes stay for 7 to 10 minutes, but longer is not automatically better. The point is not to endure discomfort, but to find an appropriate edge and remain there with awareness.
This makes yin yoga useful for people who want to improve mobility, slow down the nervous system and develop a more precise relationship with their body. It is not a performance-based practice, and it should not be confused with forcing flexibility. The skill is subtle: enter slowly, reduce muscular effort, breathe steadily and listen carefully.
What this style is and how it differs
Yin yoga is a slow style of yoga practised mostly on the floor. Unlike dynamic styles such as vinyasa, ashtanga or power yoga, it does not focus on flow, heat or repeated muscular activation. Instead, it asks the body to settle into a shape and stay there long enough for deeper tissues to receive a mild, sustained load.
Connective tissue responds differently from muscle. Muscles contract and release relatively quickly, while fascia, ligaments and joint capsules adapt more slowly. This is why yin yoga uses time as one of its main tools. The stress applied should be gentle and steady, never sudden or aggressive.
Yin yoga is also different from restorative yoga. In restorative practice, the body is usually fully supported and the main aim is deep rest. In yin, there may be a clear stretching sensation or a mild challenge, although it should never become sharp pain, numbness or joint compression. Props are welcome, but they are used to find the right amount of sensation, not to remove all sensation.
Benefits and realistic limits
The most common benefit associated with yin yoga is a gradual improvement in range of motion. Holding a posture for several minutes can help the body reduce its initial resistance and allow more space around the hips, pelvis, spine, shoulders or back of the legs. This can be helpful for people who sit for long hours, train intensely or feel generally stiff.
Yin yoga can also improve body awareness. Staying in one pose for 3 to 5 minutes reveals details that are easy to miss in faster practices: where tension accumulates, which side feels more restricted, when the breath becomes shallow and how the mind reacts to stillness. This observation is not secondary; it is one of the main benefits of the practice.
The slow pace may also support nervous system regulation. Nasal breathing, stillness and the absence of urgency often help people feel calmer after practice. However, yin yoga should not be presented as a cure for anxiety, insomnia or chronic pain. It can be a useful support, but persistent symptoms deserve proper medical, psychological or physiotherapeutic care.
Its limits are equally important. Yin yoga is not the best method for building strength, cardiovascular fitness or active joint stability. If someone only practises yin and never trains strength or active mobility, they may gain range without enough control. It works best as a complement to walking, strength training, active yoga or mindful movement.
How to practise: detailed sequence
Prepare a comfortable mat, a blanket and, if available, two blocks or firm cushions. Aim for an intensity of about 4 to 6 out of 10. You should feel a clear sensation, but not so much that you clench your jaw, hold your breath or want to escape immediately. Enter each pose slowly and stop at the first meaningful resistance.
1. Arrival and natural breathing, 3 minutes
Sit on a folded blanket or lie on your back with your knees bent. Notice your breath without trying to control it too much. If the mind feels busy, gently lengthen the exhale, for example inhaling for 4 counts and exhaling for 5 or 6. Keep it comfortable.
2. Butterfly, 4 minutes
Sit with the soles of the feet together and the knees open. Move the feet farther away from the pelvis if the groins or lower back feel strained. Let the spine round forward and support the arms on the legs, blocks or a cushion. Sensation may appear in the hips, inner thighs or lower back, but there should be no sharp knee pain.
Come out slowly by pressing the hands into the floor and rolling up. Stretch the legs for a few breaths before moving on. In yin yoga, the transition out of the pose is part of the practice.
3. Low dragon, 3 minutes each side
From all fours, step the right foot forward and lower the left knee onto a blanket. Hands can rest on blocks to reduce strain. This pose targets the hip flexors and the front of the thigh, which can feel tight after long periods of sitting.
Keep the pelvis heavy without collapsing. If the front knee feels pressured, back out or lift the torso higher. Change sides slowly and rest briefly in child’s pose if needed.
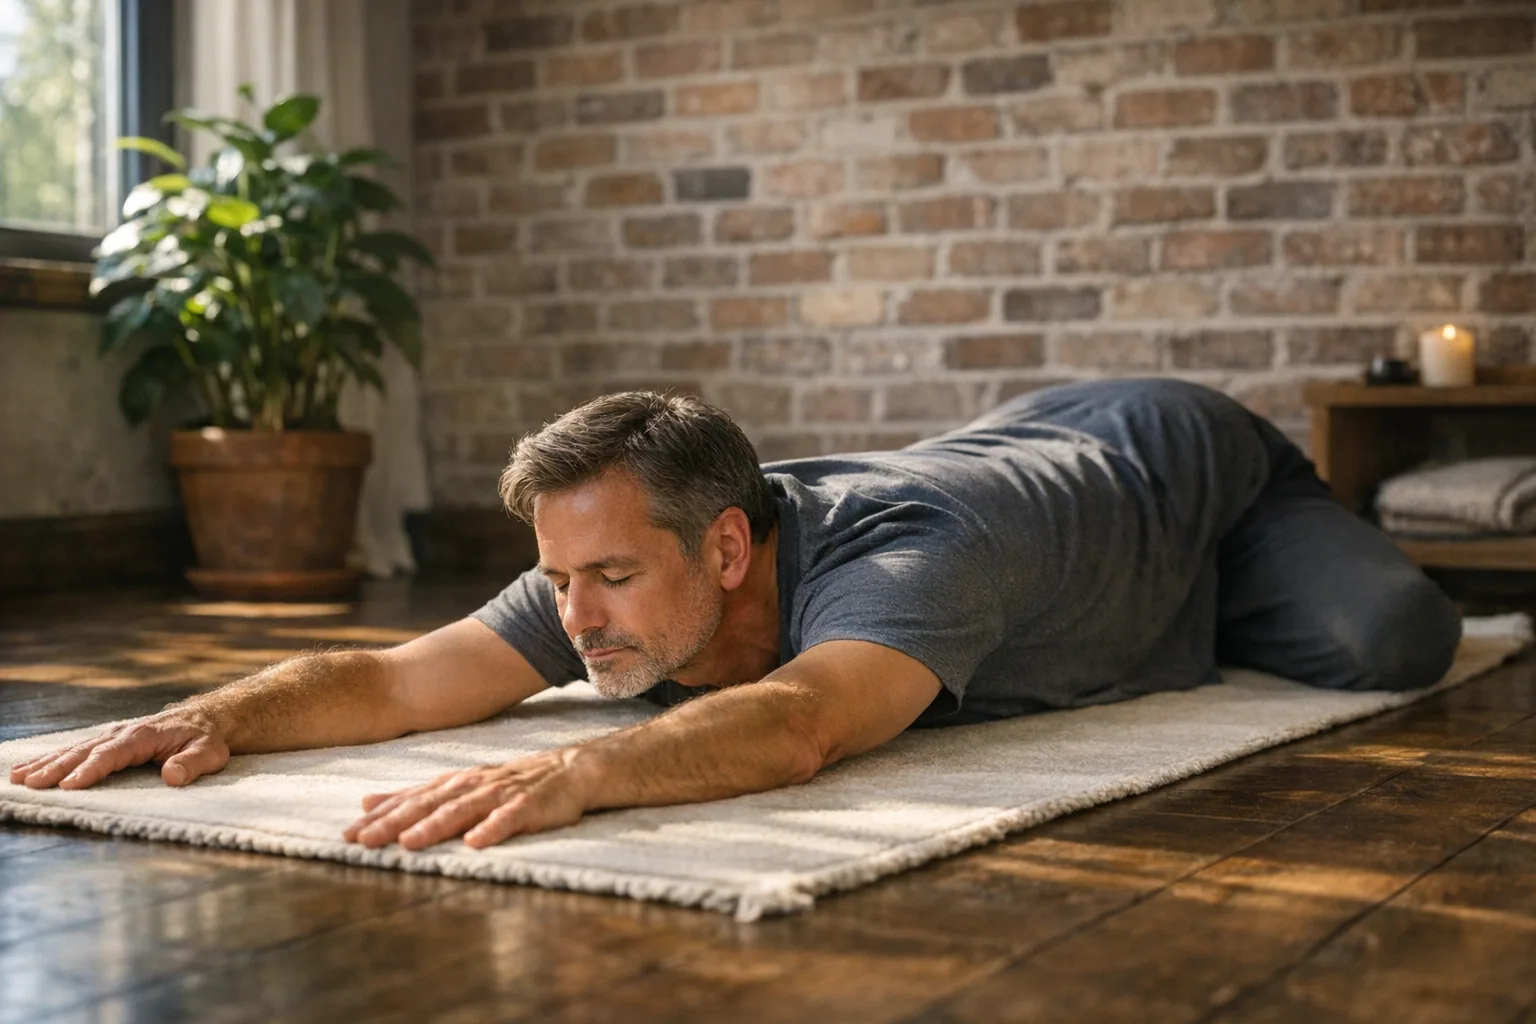
4. Sphinx, 4 minutes
Lie on your belly and place the forearms on the floor, elbows under or slightly in front of the shoulders. Sphinx creates a mild extension in the spine and a sustained stimulus in the lower back. If it feels too strong, move the elbows farther forward or place a folded blanket under the abdomen.
This pose should feel like a tolerable curve, not a pinch. To come out, lower the chest, turn the head to one side and rest for about a minute.
5. Caterpillar, 4 minutes
Sit with the legs extended and let the spine round forward. Bend the knees generously if needed and sit on a blanket to help the pelvis tilt. The goal is not to touch the feet. The aim is to create a broad, gradual sensation along the back body: spine, hamstrings and calves.
If you feel sciatic pain, tingling or an electric pulling sensation, come out or bend the knees more. Nerve-like sensations are not useful stretching signals.
6. Sleeping swan, 3 minutes each side
From all fours, bring the right knee forward into a comfortable pigeon-like shape. The shin does not need to be parallel to the front of the mat; for many people it is safer to keep the heel closer to the pelvis. Support the torso on a cushion, blocks or the hands.
The sensation is usually felt in the glute and outer hip. Avoid any knee pain. If the knee complains, switch to a reclined figure-four pose on your back.
7. Reclined twist, 3 minutes each side
Lie on your back, draw the knees in and let them fall to one side. Place a blanket between the knees if that helps. Keep the shoulders relaxed and do not force both shoulders to stay on the floor. This final twist balances the spine after forward bends and backbends.
8. Final rest, 5 minutes
Lie on your back with a blanket under the knees, or rest on your side if that feels better. For a few minutes, do not use any technique. Notice the after-effects of practice: warmth, pulse, space or quietness. This final rest helps integrate the work.
Common beginner mistakes
The most common mistake is confusing intensity with effectiveness. In yin yoga, it is not wise to move into your maximum range during the first minute. Connective tissue does not respond well to sudden pulling or to the idea of tolerating pain. A safer approach is to enter at around 60 or 70 percent of your apparent capacity and let the body soften gradually.
Another mistake is staying muscularly active. If you are gripping the glutes, lifting the shoulders or holding the pose with effort, the stimulus changes. Props can help the body release unnecessary tension. Using support is not cheating; it is intelligent adaptation.
Many beginners also copy the external shape of someone else’s pose. In yin yoga, the target area matters more than the visual form. Two bodies may need very different angles to work with the same region. Hip structure, spinal mobility, past injuries and proportions all change the practice.
Finally, people often come out too quickly. After several minutes in one shape, a joint may feel vulnerable for a few seconds. Move slowly, use your hands and pause in a neutral position between poses.
Who it suits / contraindications
Yin yoga may suit people with active routines, athletes who need a slower counterbalance, those who sit for many hours or anyone looking for a quiet, introspective practice. It can also be helpful for people who find it difficult to slow down, although stillness may feel challenging at first.
It should be avoided or modified in cases of acute injury, recent inflammation, post-surgical recovery without professional clearance, undiagnosed joint pain or strong lower back flare-ups. People with disc herniations, sciatica, joint instability, a history of dislocations or persistent pain should seek guidance and avoid long-held end ranges.
Hypermobility requires special care. If the joints already move far, the goal should not be to go deeper, but to build awareness, stability and clear boundaries. Shorter holds, lower intensity and more props are usually better. Yin yoga should not become a way of hanging from already lax ligaments.
During pregnancy, the practice needs adaptation. Deep twists, abdominal compression and belly-down poses should generally be avoided. Intensity should be reduced, and it is best to work with a prenatal yoga teacher or healthcare professional.
Suggested weekly routine
For most beginners, two sessions per week of 25 to 40 minutes are enough. Connective tissue benefits from stimulus, but it also needs recovery. Practising intense yin every day, especially on the same areas, may irritate joints or create a sense of instability.
A simple plan is to practise a hip and posterior-chain sequence once a week, and a softer spine-and-breathing session later in the week. If you do strength training or intense sport, place yin on lighter days or in the evening. Avoid deep yin right before activities that require power, speed or high joint stability.
A gradual progression could look like this:
- Weeks 1 and 2: 25 minutes, holds of 2 to 3 minutes, low to moderate intensity.
- Weeks 3 and 4: 35 minutes, holds of 3 to 4 minutes, careful exits from each pose.
- From week 5 onward: 40 to 50 minutes, with some 5-minute holds if there is no discomfort the next day.
Use the next-day response as feedback. Mild openness is normal; sharp joint pain or symptoms that worsen are not.
FAQ
How long should each yin pose be held?
Beginners can start with 1 to 3 minutes. With experience, many poses are held for 3 to 5 minutes. Holds of 7 to 10 minutes should be reserved for experienced practitioners who can distinguish useful intensity from pain.
Does yin yoga improve flexibility?
It can improve range of motion when practised consistently and without forcing. Flexibility also depends on strength, the nervous system, rest, breathing and individual anatomy. Yin works best alongside active mobility or strength work.
Should yin yoga hurt?
No. A pose may feel intense, deep or mentally challenging, but it should not create sharp pain, burning, persistent tingling or joint pinching. If the breath becomes strained, reduce the intensity or use more support.
Is yin yoga better in the morning or evening?
It depends on your goal. In the morning, practise more gently because the body is usually stiffer. In the evening, yin can help you slow down, provided the poses are not too intense.
Closing
Yin yoga is a practice of patience, precision and honest listening. Long-held postures can offer a valuable stimulus to connective tissue and a rare chance to observe the body without rushing. Its effectiveness does not come from holding longer or going deeper, but from applying the right dose: enough time, moderate intensity, steady breathing and careful transitions.
Practised this way, yin yoga can complement active yoga, strength training and recovery routines. The central question is not how far you can stretch, but how clearly you can listen while you stay.
Ready for your next retreat?
Explore hundreds of retreats across Spain with transparent pricing.
Explore retreats